


There’s nothing like printing a cherished memory, whether it be from a birthday celebration, seasonal party, or holiday abroad - there’s something special about printing and displaying a photo in a scrapbook or frame.
Whether you're printing your keepsakes at home or through a professional printing service, editing your photos effectively can make a world of difference in print quality. This guide walks you through essential steps to ensure your images look their best on paper.
Why Editing Matters for Print Quality
Printed photos often appear different from their on-screen counterparts due to variations in screen brightness, colour calibration, and the physical properties of paper.
Without proper editing, you may face issues like pixelation, dull colours, clipped highlights or overly dark prints. Adjusting your photos specifically for print bridges this gap, ensuring vibrant, sharp, and true-to-life results.
Preparing Your Photos for Printing

Before diving into editing, it's crucial to properly prepare your photos. This involves ensuring the resolution is adequate, using the correct colour space, and saving your files in the right format. Having a dedicated folder of photos you want to print within your image library can also help to streamline the editing and printing process.
Choosing the Right Resolution
There are a variety of ways to ensure your photos are right for your photo book:
- For optimal print quality, aim for a resolution of 300 DPI (dots per inch). This ensures clarity and prevents pixelation, especially for larger prints like A4’s and canvas.
- When resizing, avoid upscaling smaller images excessively, as it can reduce quality. Use professional tools like Adobe Photoshop or free alternatives like GIMP to resize while maintaining sharpness.
- Think about the print size and ensure the type of photo you’re choosing suits the size and orientation. For example, a square print will struggle to accommodate all the details in a photo that's taken in a portrait orientation.
Colour Space: RGB vs. CMYK
Digital screens display images in RGB (Red, Green, Blue), but printers generally use CMYK (Cyan, Magenta, Yellow, Key (Black). Converting your image to CMYK before printing helps align colours within your images for accurate reproduction. Many photo editing tools provide this option but remember, some colours may shift due to the smaller colour range of CMYK compared to RGB.
File Formats for High-Quality Prints
Save your images in formats that retain maximum detail.
- JPEGs are fine for everyday use but may lose quality with repeated editing and could become pixilated in the long term.
- For professional or high-detail prints, consider using TIFF or PNG formats, as these preserve image integrity and support transparent layers when needed. Some high-quality images may appear textured if used for small print sizes.
Essential Photo Editing Techniques for Print
Content for your photo book can be sourced from a variety of places - perhaps an album on your iPad, a series of images taken on your phone from your family holiday or a staged photo shoot.
Wherever your images come from, the most important thing to remember is to stick with your theme and colour palette to ensure a smooth transition from one page to the next.
Editing is where your book takes shape. Enhance your photos by adjusting brightness, contrast, and exposure for balanced lighting - to really make them stand out. Correct colour tones and white balance to ensure the images look vibrant in print.
For those who are extra creative, try creating something unusual on Canva. Design and upload a bespoke front cover or include patterns on the page design to really accentuate the details in your images.
To make your book stand out, try adding personal touches like captions, dates, or anecdotes to make your book more engaging. You might even include a handwritten message or signature for an intimate, personal flair. The details you include make your book truly unique.
Printing and Binding Options for Your Coffee Table Book
Once your photo is prepared, fine-tuning through editing is essential. Here are the most impactful techniques:
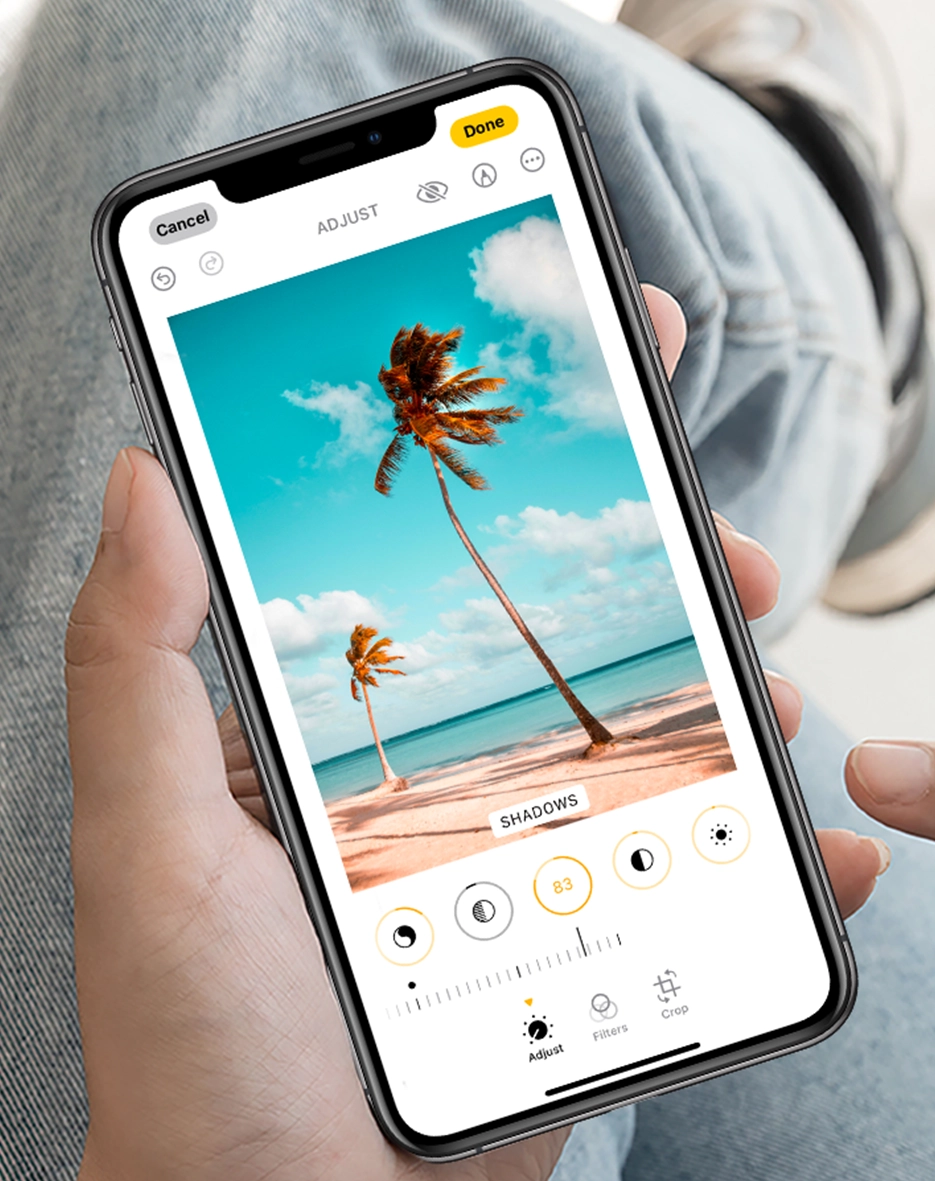
Adjusting Brightness, Contrast, and Exposure
Printed photos tend to appear darker than on-screen images. Use editing tools to slightly brighten your image and adjust contrast to bring out details.
You can either do this with your in-built gallery editor or opt for apps like Adobe Lightroom. Exposure tweaks can also correct areas that are too dark or washed out.
Sharpening and Clarity Enhancements
Sharpening improves the fine details in your image, ensuring they stand out in print. Tools like Adobe Lightroom and Photoshop provide precision controls for sharpening without overdoing it, which can create an unnatural and grainy look.
Colour Correction and White Balance
Adjust colours to ensure they appear natural and vibrant in print. Fix any colour casts and ensure whites are neutral - you can do this by making changes to the white balance settings. Many tools offer automatic colour correction features, but manual adjustments can yield better results.
Cropping and Composition for Printing

Cropping not only removes distractions but also helps to position your subject within standard print dimensions. Keep in mind the aspect ratio of your print size to avoid unwanted cropping during printing.
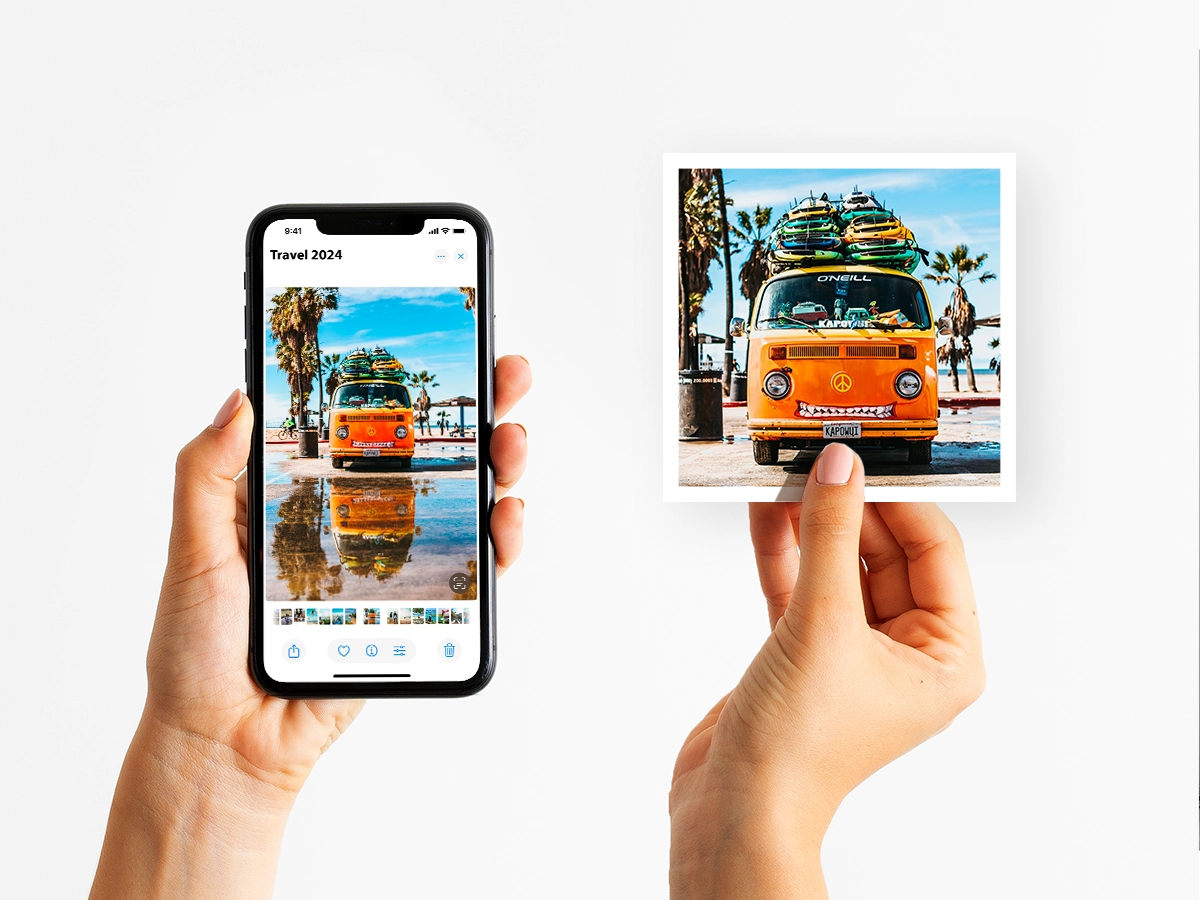
Testing Your Edits Before Printing
Before finalising your prints, proof your edits digitally to ensure they’re clear, vibrant and in focus. You can use soft-proofing features in editing software to simulate how the image will appear in print, which can help you spot any last-minute alterations you might like to make.
Additionally, consider printing a small test copy from different printing services to check which is best in terms of colour accuracy, sharpness, and brightness.
Print with Postsnap
By following these steps, you can transform your photos into stunning prints that do justice to your memories. With a bit of preparation and thoughtful editing, you’ll ensure every image is worthy of display. Get started with Postsnap!


.webp)


